Image management for our containers is a very important task in the development and deployment of our applications. Normally when we start working with containers, we use the public registry of Docker known as Docker Hub, but as the process progresses in our organization we seek to have more control over the images, to ensure that the image does not present vulnerabilities, to control access to them and other aspects that with Harbor we can cover.
Harbor is an open source solution developed by VMware and donated to the CNCF, so if you are using Tanzu you can rest assured that Harbor has support directly from VMware in case you need it.
Some of the benefits and features of Harbor are:
To start using images stored in our Harbor implementation in our deployments we must:
2. In our Bootstrap machine we must import the Harbor certificate. In this case we are using self signed certificates, to get it we have two options:
https://nombe_de_dominio_de_harbor/api/v2.0/systeminfo/getcert
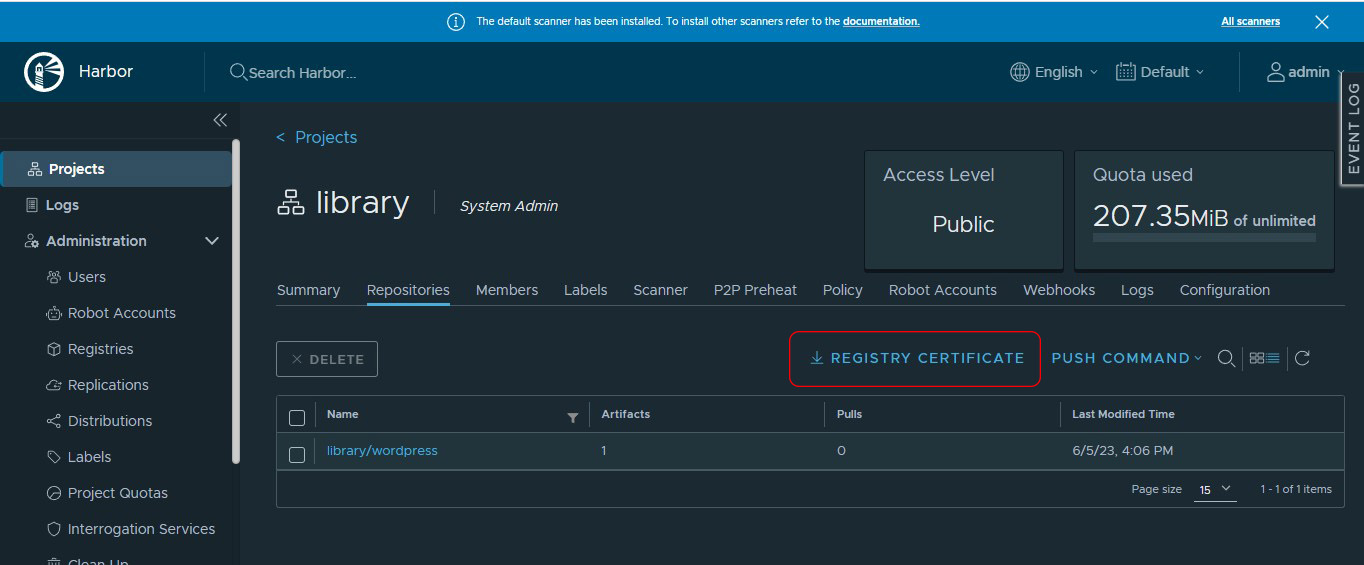
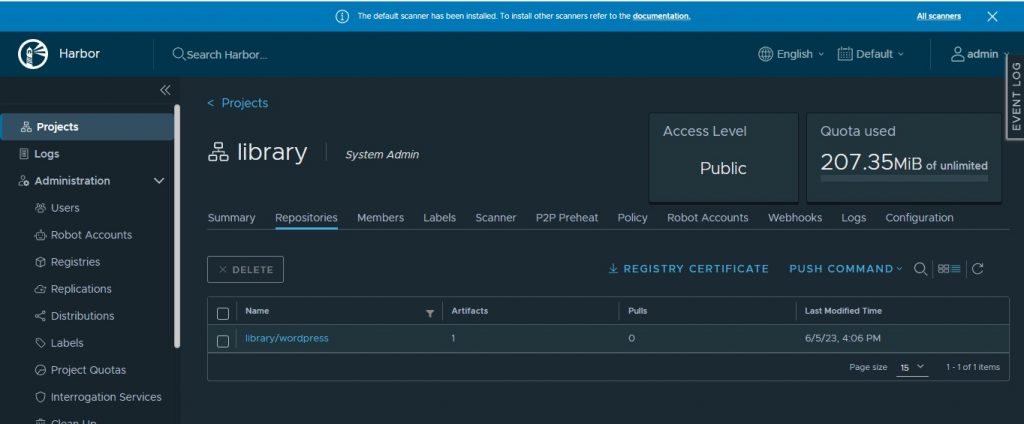
3. Once we have the Harbor certificate we must save it in the following path:
/etc/docker/certs.d/harbor_domain_name/harbor_certificate.crt.
If the path does not exist previously, we must create it:
mkdir /etc/docker/certs.d/harbor_domain_name/.
4. Now we can log into Harbor from our bootstrap machine, we must use the credentials with which we log into the harbor GUI, for this we use the following command:
docker login harbor_domain_name -u admin
5. Now we can download the image to our machine:
sudo docker pull image_name
6. We tag the downloaded image, for example wordpress:1.0
docker tag wordpress:1.0 harbor_domain_name/project_name/wordpress:1.0
7. We insert the image in our Harbor registry, for this we use the following command:
docker push harbor_domain_name /harbor/project_name/wordpress:1.0
Once we have our images in the Harbor registry we can use them in our deployments, for this we just need to place the path of the image in the yaml manifest of our deployment.
Thanks for reading.