How is a moodle implemented?
A moodle is implemented when a client requests an educational platform that allows teachers and students to access resources in an easier way, and that has a forum, chats, assignments, quiz, etc.
Web platforms or content management systems allow for daily editing, development and administration of content, as well as daily updates, writing articles, creating new pages and inserting any type of multimedia.
Additionally, it has support for updates and development of plugins, since moodle has a free software community, which provides security for any inconvenience reported in order to solve it.
Next we will give details of how to perform this implementation successfully and also indicate what are the prerequisites to carry out this activity:
To perform this activity you must have the following prerequisites:
- Linux Debian 11 0 operating system installed
- Have the SSH service installed and configured for remote access from any computer.

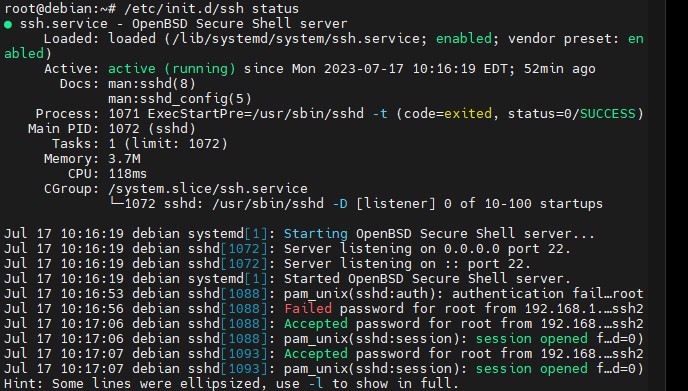
Step 1: Accessing and updating the system
Note: It is recommended to have the root user or a user that allows installing dependencies and services.
Previously we identify that we have a Debian version 11 operating system and proceed to install the updates and perform an upgrade of packages and services through the command:
apt update && apt upgrade -y
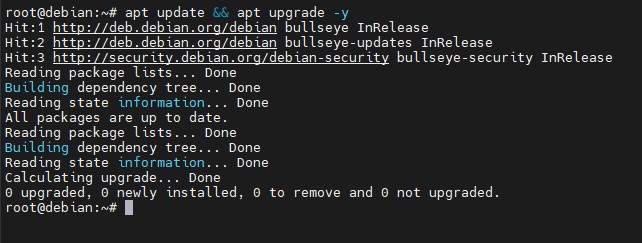
Step 2: install and configure apache
For any type of content management system a web service is required. For taxation apache will be used and is installed as follows:
apt install apache2 php -y
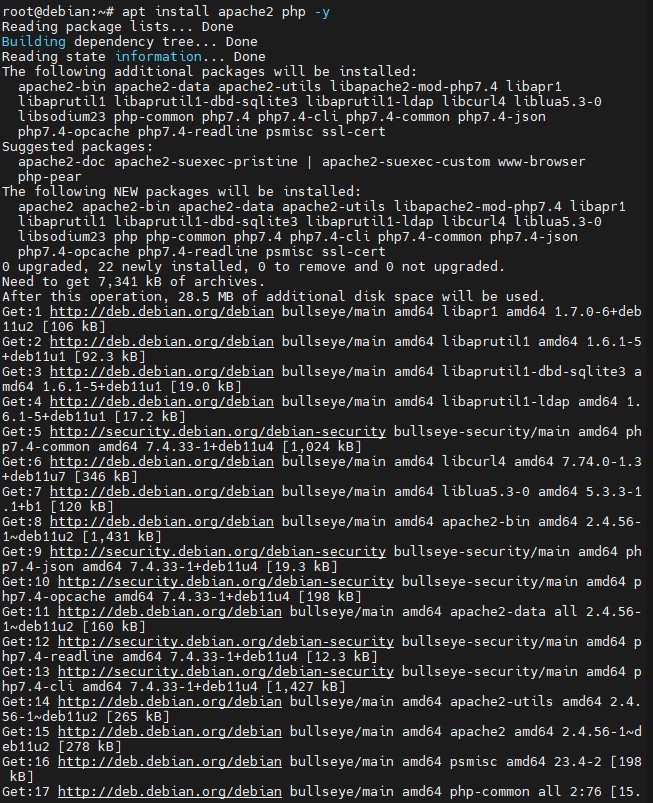
To improve the maximum allowed connections we recommend the max_input_vars = 7000 parameter, which is found in the file:
/etc/php/7.4/apache2/php.ini to 7000.
Using the following command nano /etc/php/7.4/apache2/php.
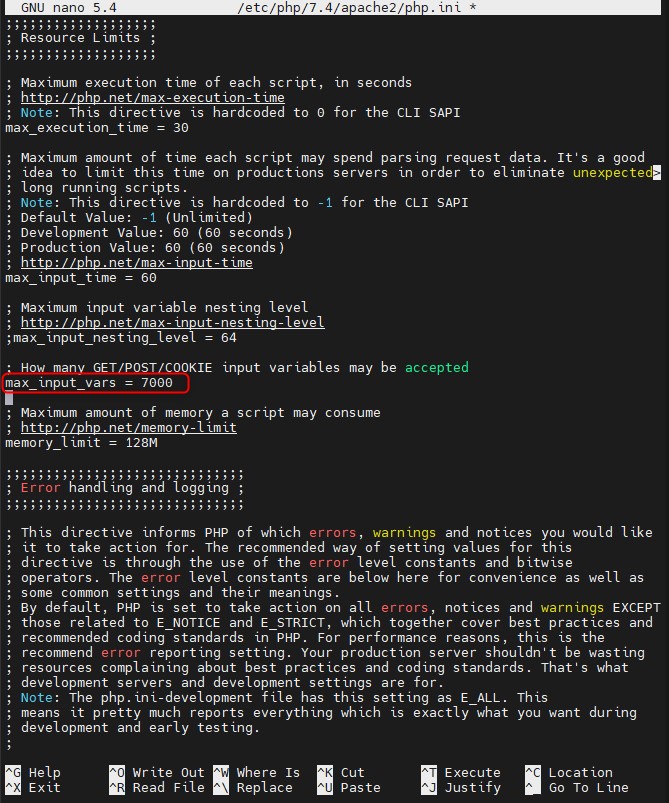
Using the command control + x we save the changes made.
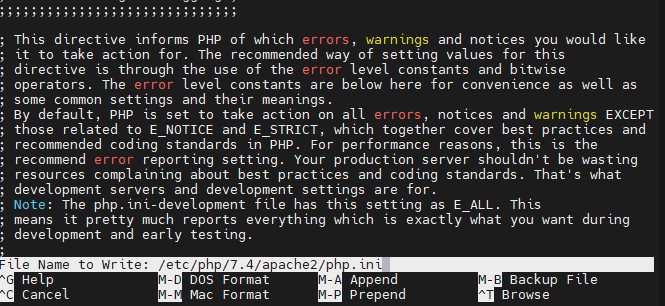
Then restart the service using the following command: systemctl restart apache2

Step 3: install Maríadb
Moodle requires a database for users and information, so it is advisable to install Maríadb, since it is in the official Debian repositories and is installed with the following command:
apt install mariadb-server -y
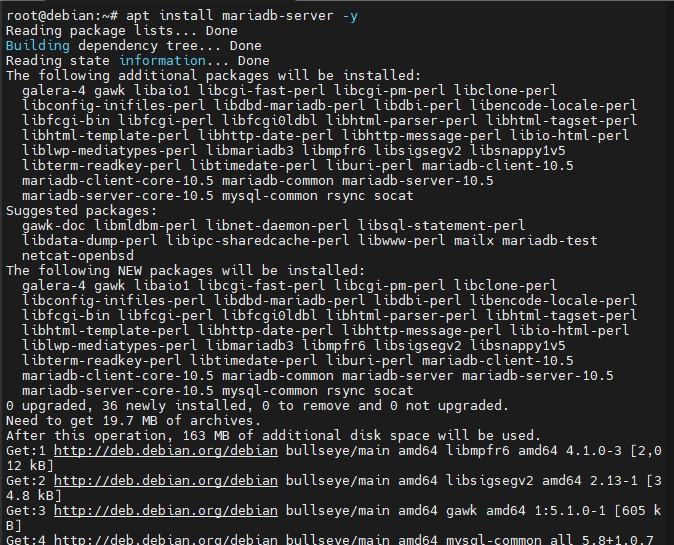
After having this database installed, we proceed to secure it and it will be done with the following commands:
mysql_secure_installation
It is recommended to assign a strong password.
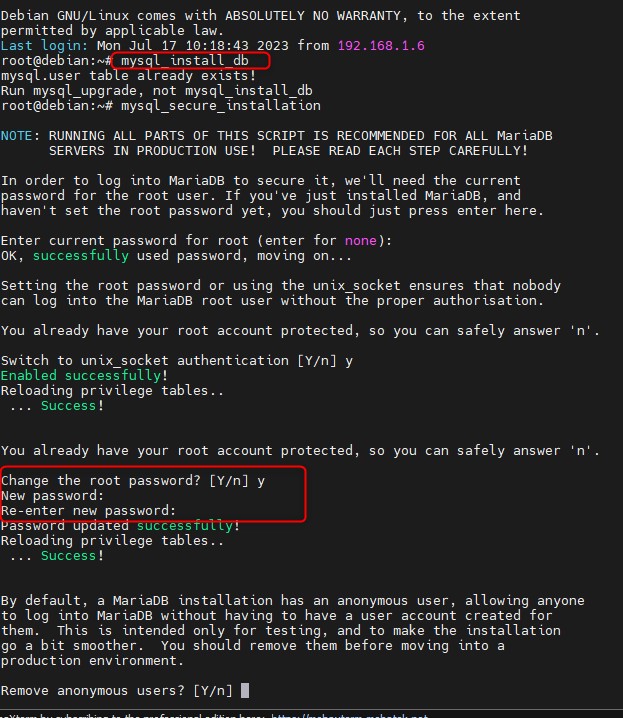
Remove the Anonymous user.

Remove the test database.

Apply changes on the configuration.

Then, proceed to create a database where moodle and users will be stored with the following commands:
- mysql -u root -p login with the previously created password.

2. Create moodle database using: CREATE DATABASE moodle_db DEFAULT CHARACTER SET utf8mb4 COLLATE utf8mb4_unicode_ci;;
3. Create Moodle user in the mysql database using CREATE USER moodle_user@’localhost’ IDENTIFIED BY ‘m0d1fyth15’;
4. Assign privileges to the user and database using GRANT ALL on moodle_db.* to moodle_user@localhost;
5. Apply changes using FLUSH PRIVILEGES;
6. Exit using \q
Step 4: Install PHP
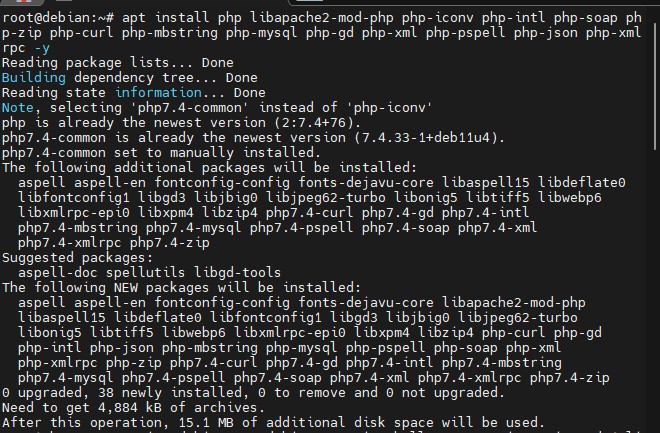
Any web content requires the use of php, for this all php extensions are installed through the command:
apt install php libapache2-mod-php php-iconv php-intl php-soap php-zip php-curl php-mbstring php-mysql php-gd php-xml php-pspell php-json php-xmlrpc -y
Step 5: Download Moodle
1. Now you will download the stable version of moodle from its official site https://download.moodle.org/releases/latest/ using the command wget https://download.moodle.org/download.php/direct/stable400/moodle-4.0.1.zip
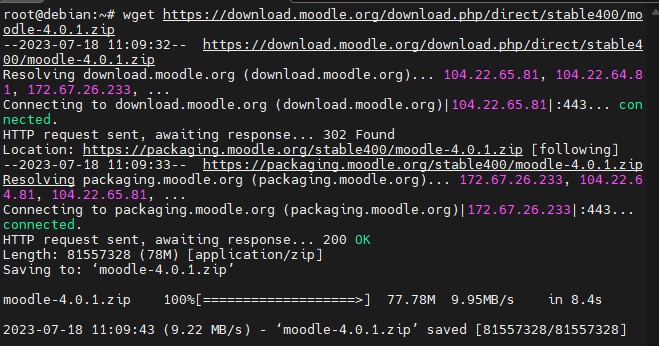
2. Extract the file using a zip file that must be previously installed (apt install unzip -y) and send it to the folder located in /var/www/html/ using the following command:
unzip moodle-4.0.1.zip -d /var/www/html/

3. Create the directory with: mkdir /var/www/html/moodledata
4. Assign permissions to the directories and rename in apache using the following commands:
chown -R www-data:www-data /var/www/
chown -R www-data:www-data /var/www/html/moodle/
chmod -R 755 /var/www/html/moodle/
chown -R www-data:www-data /var/www/html/moodledata/

5. Finally, we proceed to install moodle in the web way
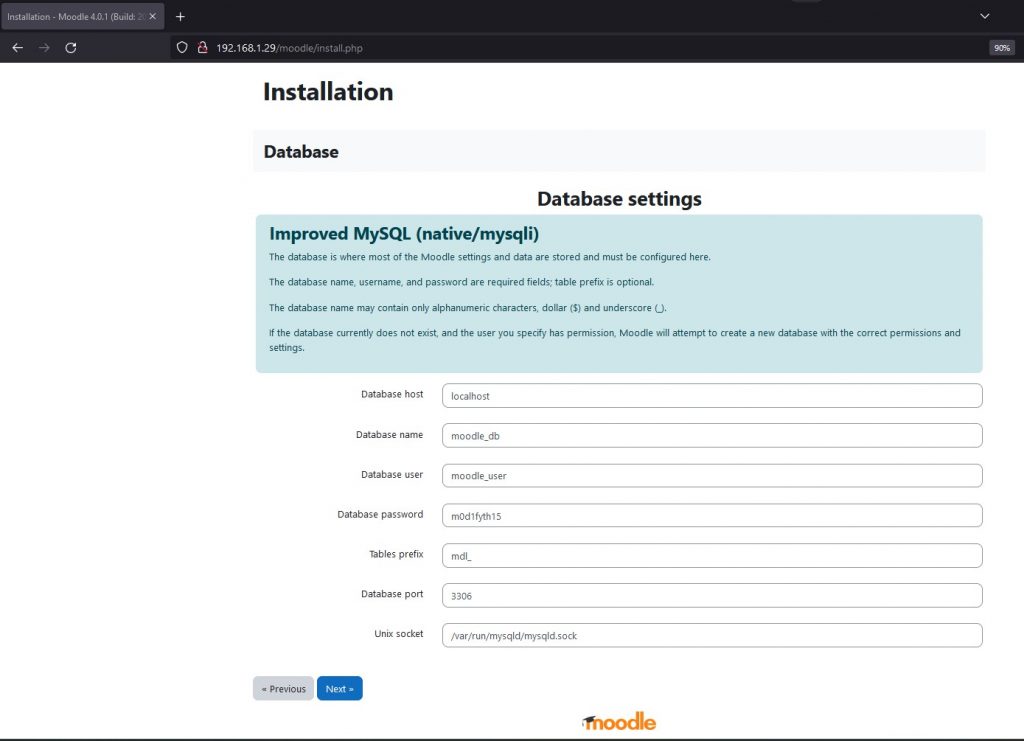
Accessing http://192.168.1.29/moodle/install.php
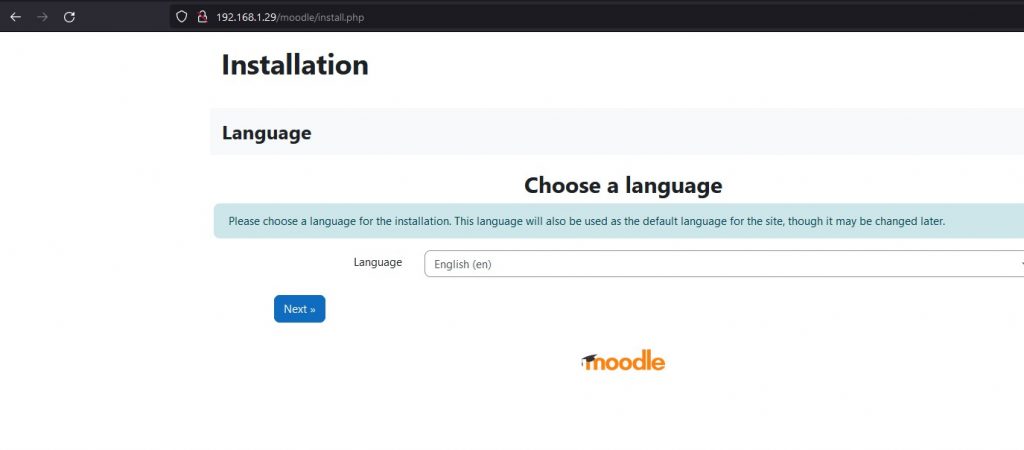
Click on next.
Configure the url providing the indicated data.
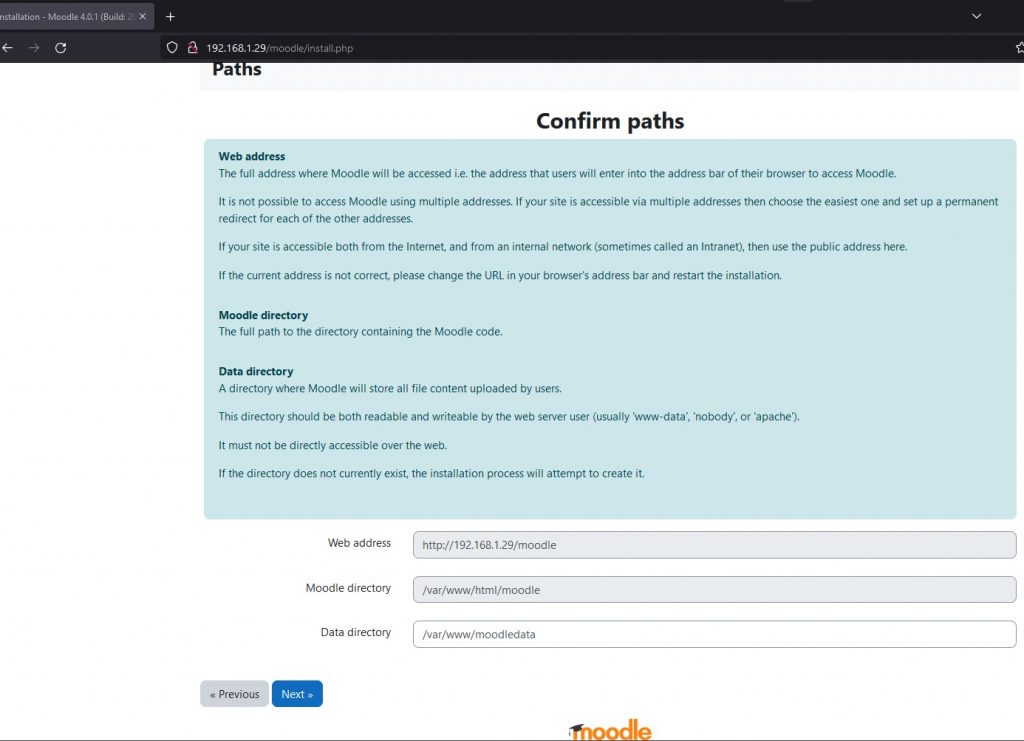
Configure the database using MariaDB.
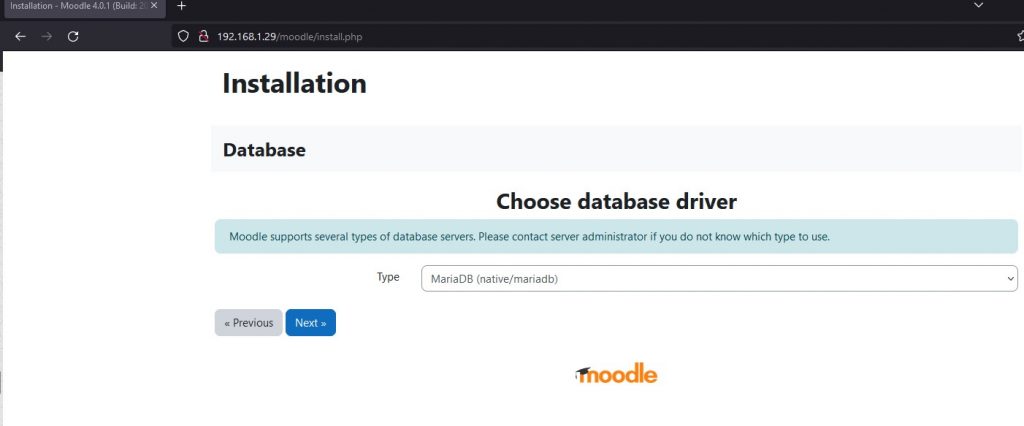
Provide the information of the configured database and click on next.
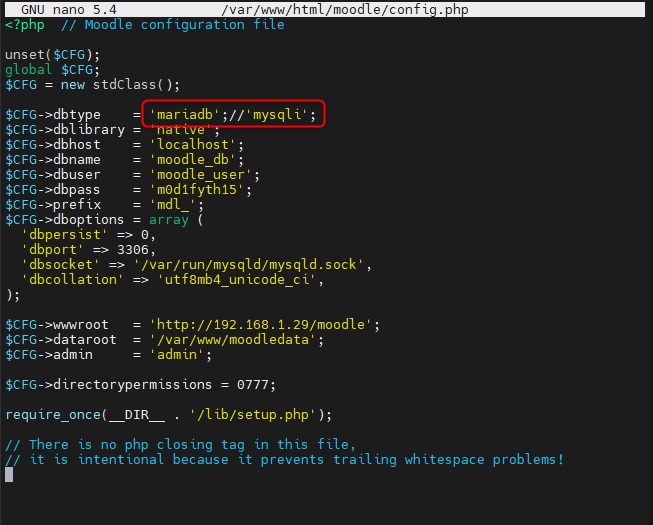
And in the path configure the parameter $CFG->dbtype y agregar ‘mariadb’;//’mysqli’;
Finally, restart the apache service
/etc/init.d/apache2 restart
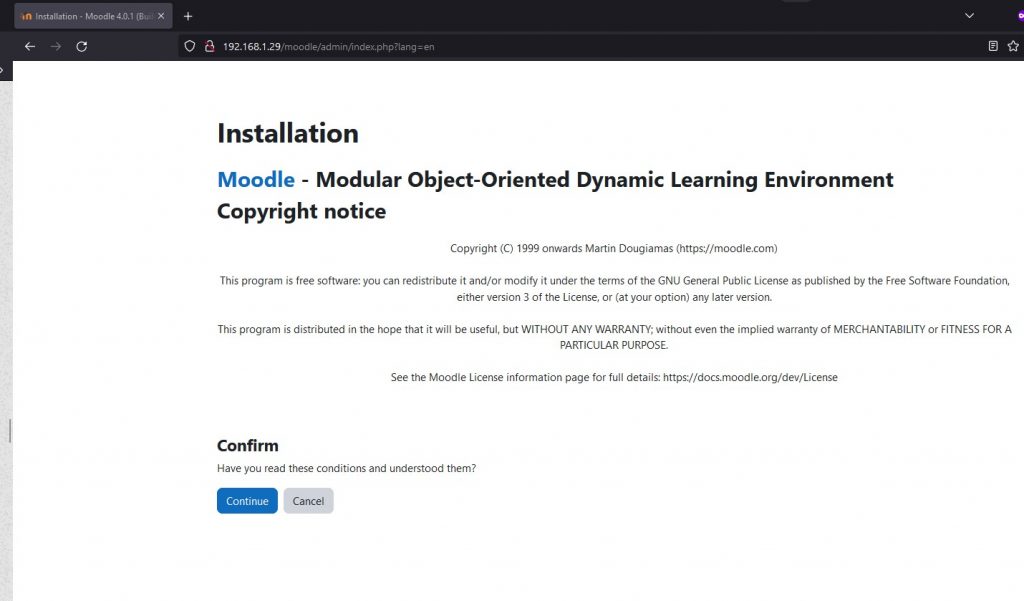
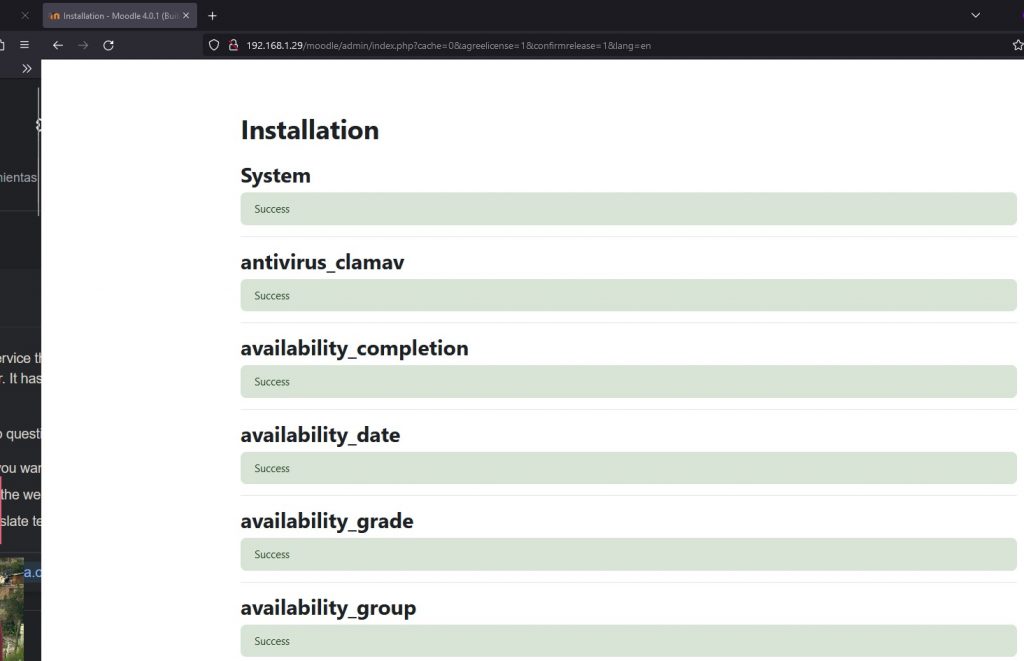
Accept the conditions and click next.
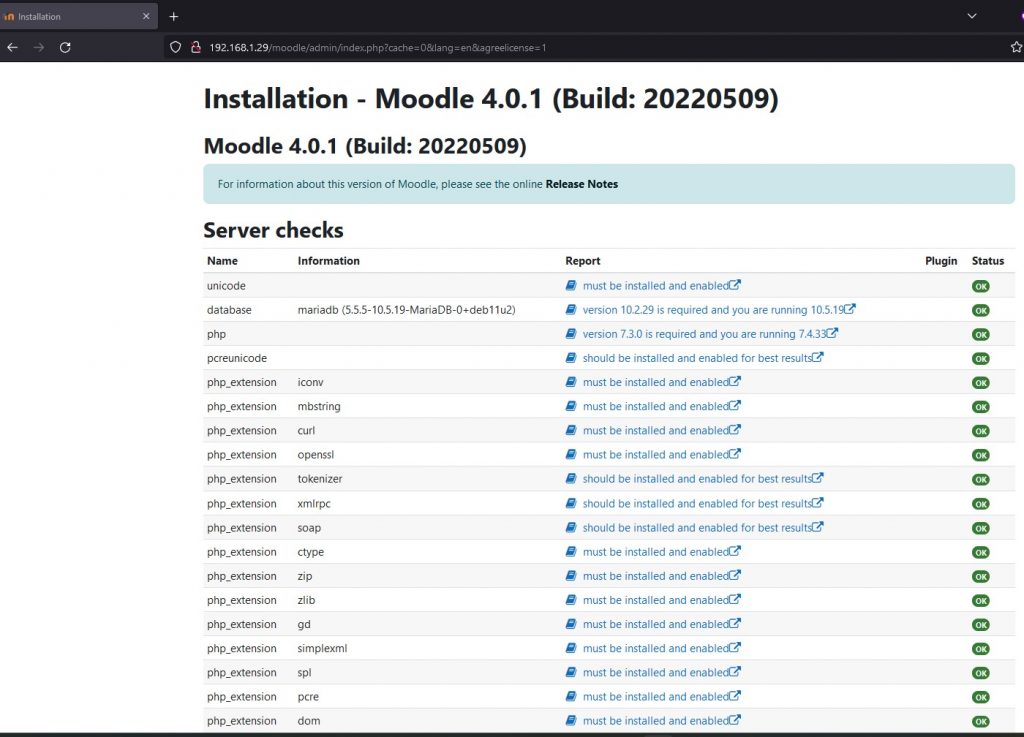
Verify that it fulfills the requested requirements and click continue.
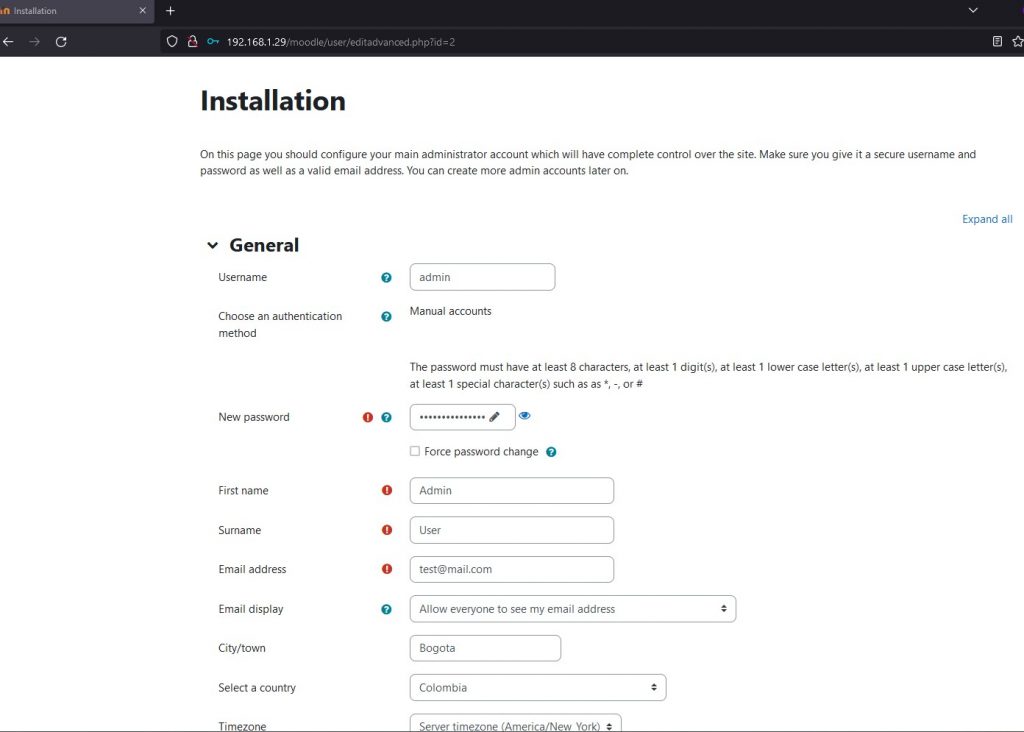
Fill in the profile data and click on update profile.
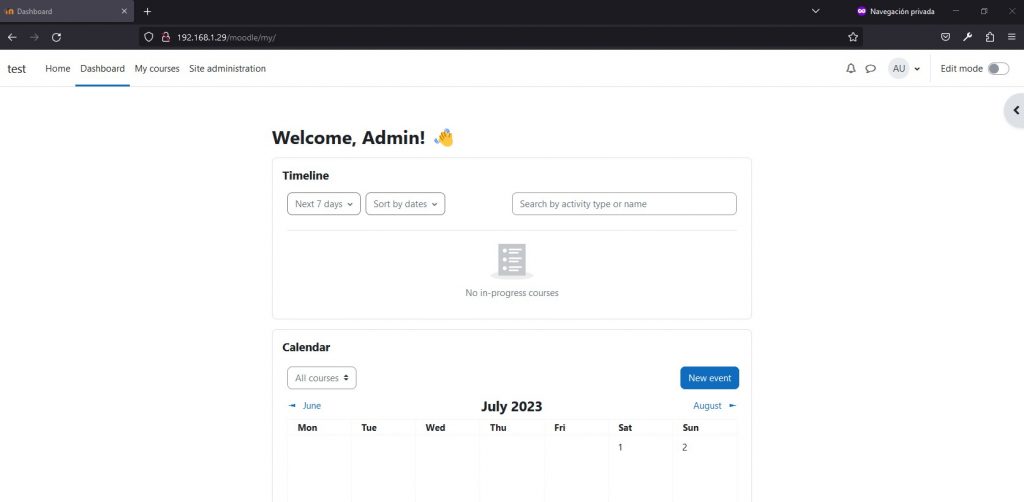
After making these settings, finish the installation and access the dashboard as administrator.
Thank you for reading.
Done by: Oscar Gonzalez
Edited by: Diana Oviedo
References


